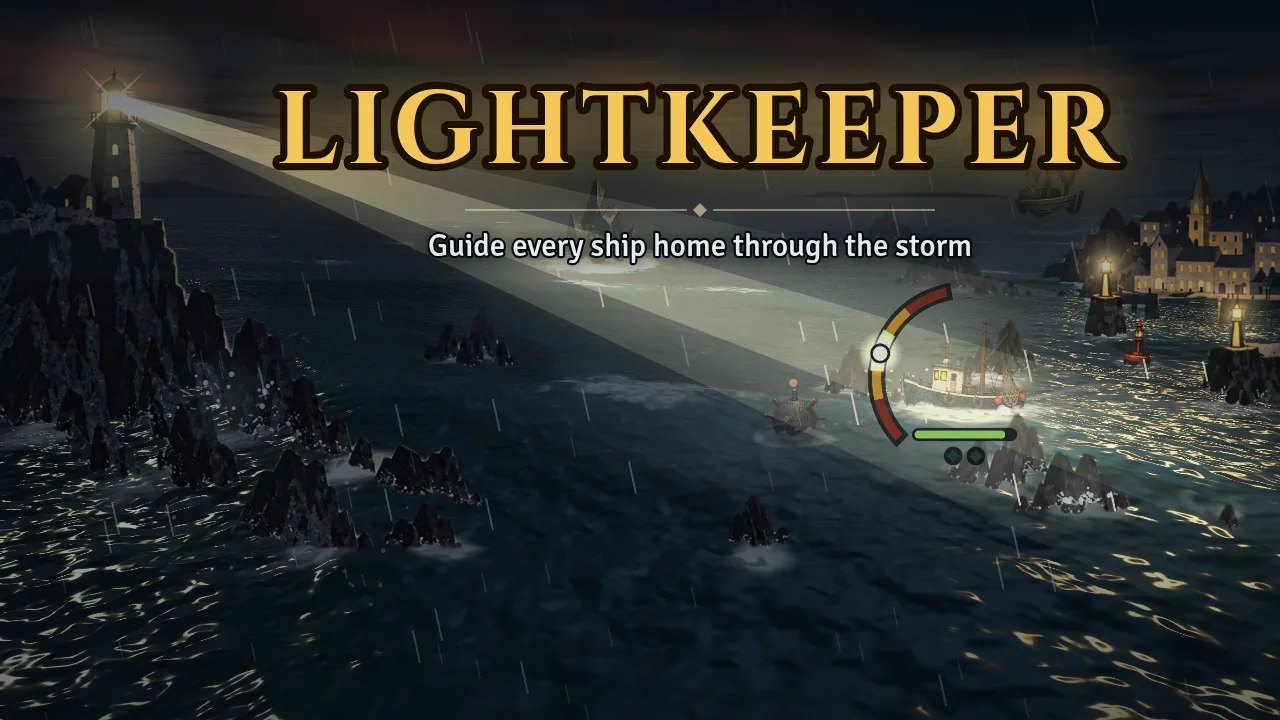
Lightkeeper Guide: Surviving All Seven Nights

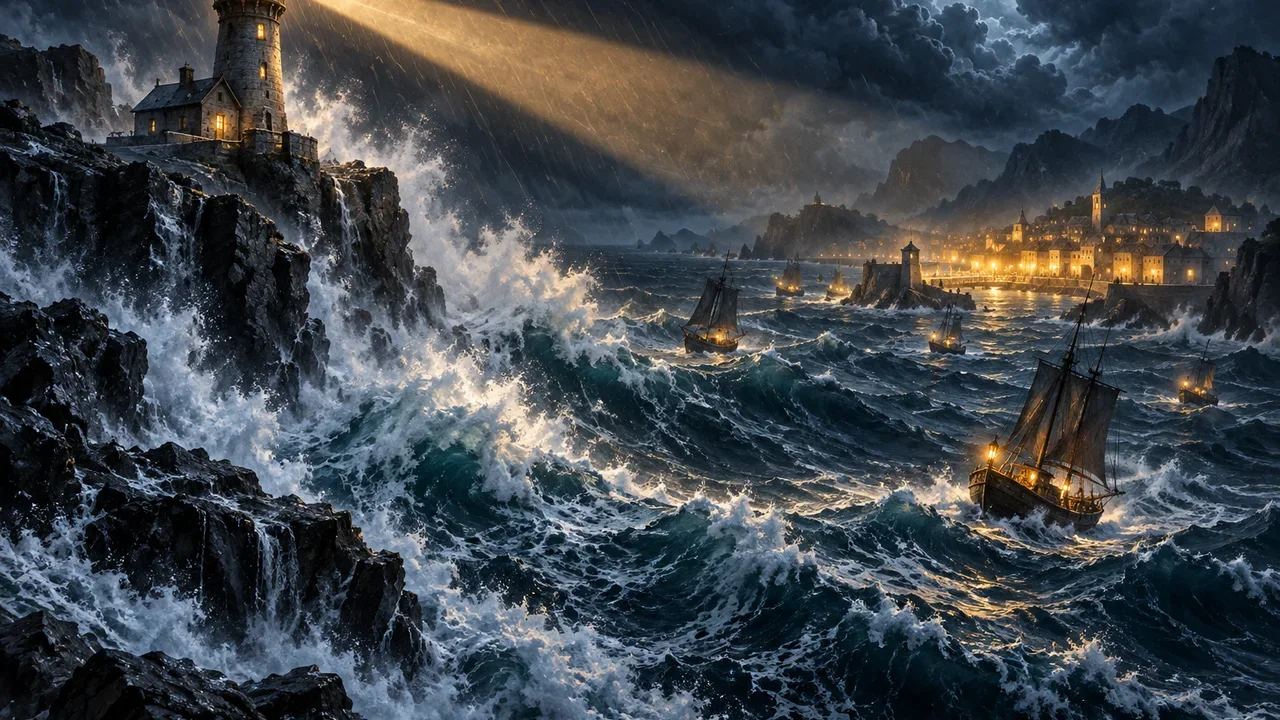
Every ship in Lightkeeper drifts toward the rocks on a timer, and the only way to save it is a signal from the lamp, sent by tapping as the beam's marker crosses the green on that ship's gauge. Three things run at once: the timing of each signal, the danger timer on every ship, and the heat building up in the lens. Most lost nights are lost to the third one.
What one tap does
| Tap | Ship's timer | Lens heat | Points |
|---|---|---|---|
| Perfect | +3 s | 1× | 100 × chain |
| Good | +1 s | 1× | 50 |
| Miss | none | 1.4× | 0 |
| Decoy lantern | none | 1× + 14 | −50 |
A perfect and a good signal heat the lens by the same amount, so a perfect is strictly better: three seconds back on the ship's timer instead of one, and a place in the chain. The chain multiplies points by 1.25, 1.5, 1.75 and so on, up to triple from the ninth perfect in a row. A miss or a good signal breaks it.

Heat is counted up to 100. At 100 the lens locks with the banner "Lens overheated, let it cool before signalling", the chain resets, and nothing can be sent until it cools. A locked lens is how two ships end up on the rocks together.
The seven nights
| Night | Ships | Signals | Save | Heat |
|---|---|---|---|---|
| Calm Waters | 1 | 1 | 2 | 14 |
| Gathering Fog | 1 | 1 | 3 | 15 |
| The Broken Lens | 1 | 2 | 3 | 23 |
| Smuggler's Cove | 2 | 1 | 3 | 16 |
| Black Tide | 2 | 2 | 3 | 17 |
| The Great Storm | 2 | 2 | 4 | 17 |
| Dawn Fleet | 2 | 2 | 5 | 17 |
Ships is how many are on the water at once, signals is how many each standard ship needs, save is the night's target, and heat is what one signal adds. The lens cools at its own rate every night, and the third night is the outlier on both sides: the most heat per signal, 23, and the slowest cooling, 5.5 per second against 8 to 9 everywhere else. A single signal's heat takes over four seconds to fade there, and a miss costs double, 46.

The beam also speeds up night by night, and the perfect zone narrows by about a third between the first night and the last.
Gathering Fog. Ships in the fog only appear when the beam finds them. An empty-looking sea usually means following the beam, not waiting.
Smuggler's Cove. Two ships at once from here on, and a smugglers' red lantern among them. Signalling the lantern counts as a miss with extra heat and costs 50 points.
Black Tide. Storm surges drive ships onto reefs and mines. A banner always comes before the surge, so the signal belongs on the warning, not on the swell.
The Great Storm. When the sky flickers, lightning follows. A strike blinds the lens and reverses the beam, so the marker suddenly travels the other way. A tap while blinded is wasted and still adds heat.
Dawn Fleet. Every hazard at once, rogue waves rolling in from the east, and five ships to bring home.
Which ship first
| Ship | Time | Extra | Points |
|---|---|---|---|
| Rescue boat | 88% | no | 250 |
| Fishing boat | 92% | no | 200 |
| Schooner | 100% | no | 220 |
| Tugboat | 105% | no | 200 |
| Cargo steamer | 112% | yes | 300 |
| Ferry | 125% | yes | 400 |
Time is how long the ship lasts before the rocks, relative to the schooner, and extra means it needs one more signal. Rescue boats run out of time first, so they go first when two ships are waiting. Cargo steamers and ferries need one extra signal each but drift slower to make up for it.
The third star
Each night awards a star for finishing, a star for losing no ships, and a star for precision: at least 60% of all taps must be perfect. Misses count as taps, so a stray tap at an empty sea lowers the score twice, once in heat and once in precision.
That star rewards patience more than speed. The beam crosses the green from one edge to the other, and the perfect zone sits in the middle of it. A tap on the leading edge of the green lands a good signal. Waiting until the marker reaches the middle lands the perfect.
Lightkeeper plays in landscape. A tap, a click, the Space bar or Enter sends the signal.